
If you're already using Webflow for your website and receiving client requests through Webflow forms, you're halfway to creating a powerful, customizable CRM system at no extra cost. By integrating your Webflow forms with Notion through Zapier, you can funnel these client requests directly into a dynamic CRM, enhancing your customer relationship management without straining your budget and spending extra time doing it manually. Let's explore how you can set this up.
Why Choose Webflow, Zapier, and Notion?
Webflow: Your Website’s Backbone
Webflow offers a robust platform for creating beautiful, responsive websites. It's particularly powerful for designing custom forms that capture client requests and inquiries.
Zapier: The Bridge for Automation
Zapier excels in connecting different web services without the need for complex coding. It acts as a bridge between Webflow and Notion, automating the flow of data.
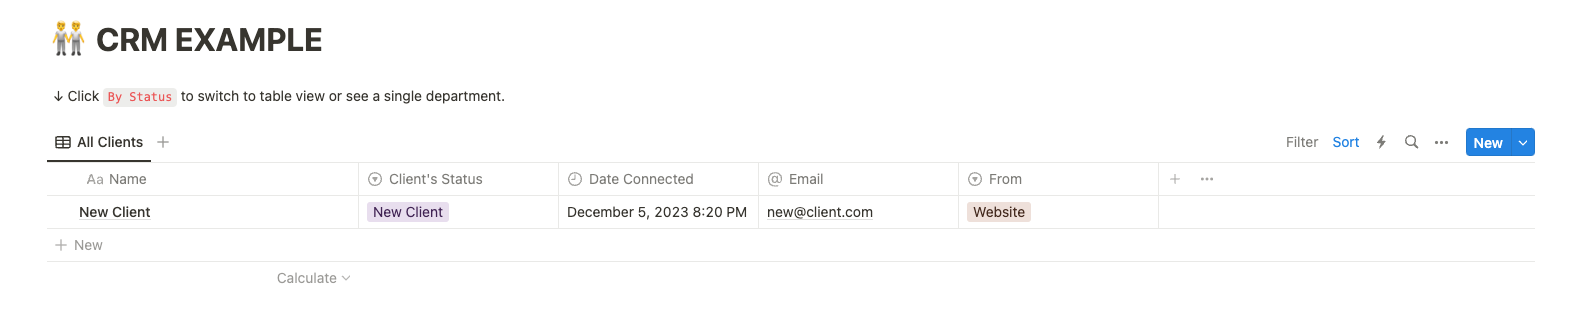
Notion: A Flexible CRM Hub
Notion is a versatile tool that can be transformed into a CRM system. Its customization capabilities allow you to tailor your CRM to your specific business needs.
Setting Up the Integration
Step 1: Prepare Your Webflow Form
- Review Your Existing Form: Ensure your Webflow form captures all the necessary details you want in your CRM, such as name, email, and specific requests.
Step 2: Create a Zapier Account
- Sign Up for Free: If you don’t have a Zapier account, sign up for free.
- Connect Webflow to Zapier: In Zapier, choose Webflow as your trigger app and connect your account.
Step 3: Configuring Zapier Triggers
- Set Up New Trigger: Choose ‘New Form Submission’ in Webflow as the trigger.
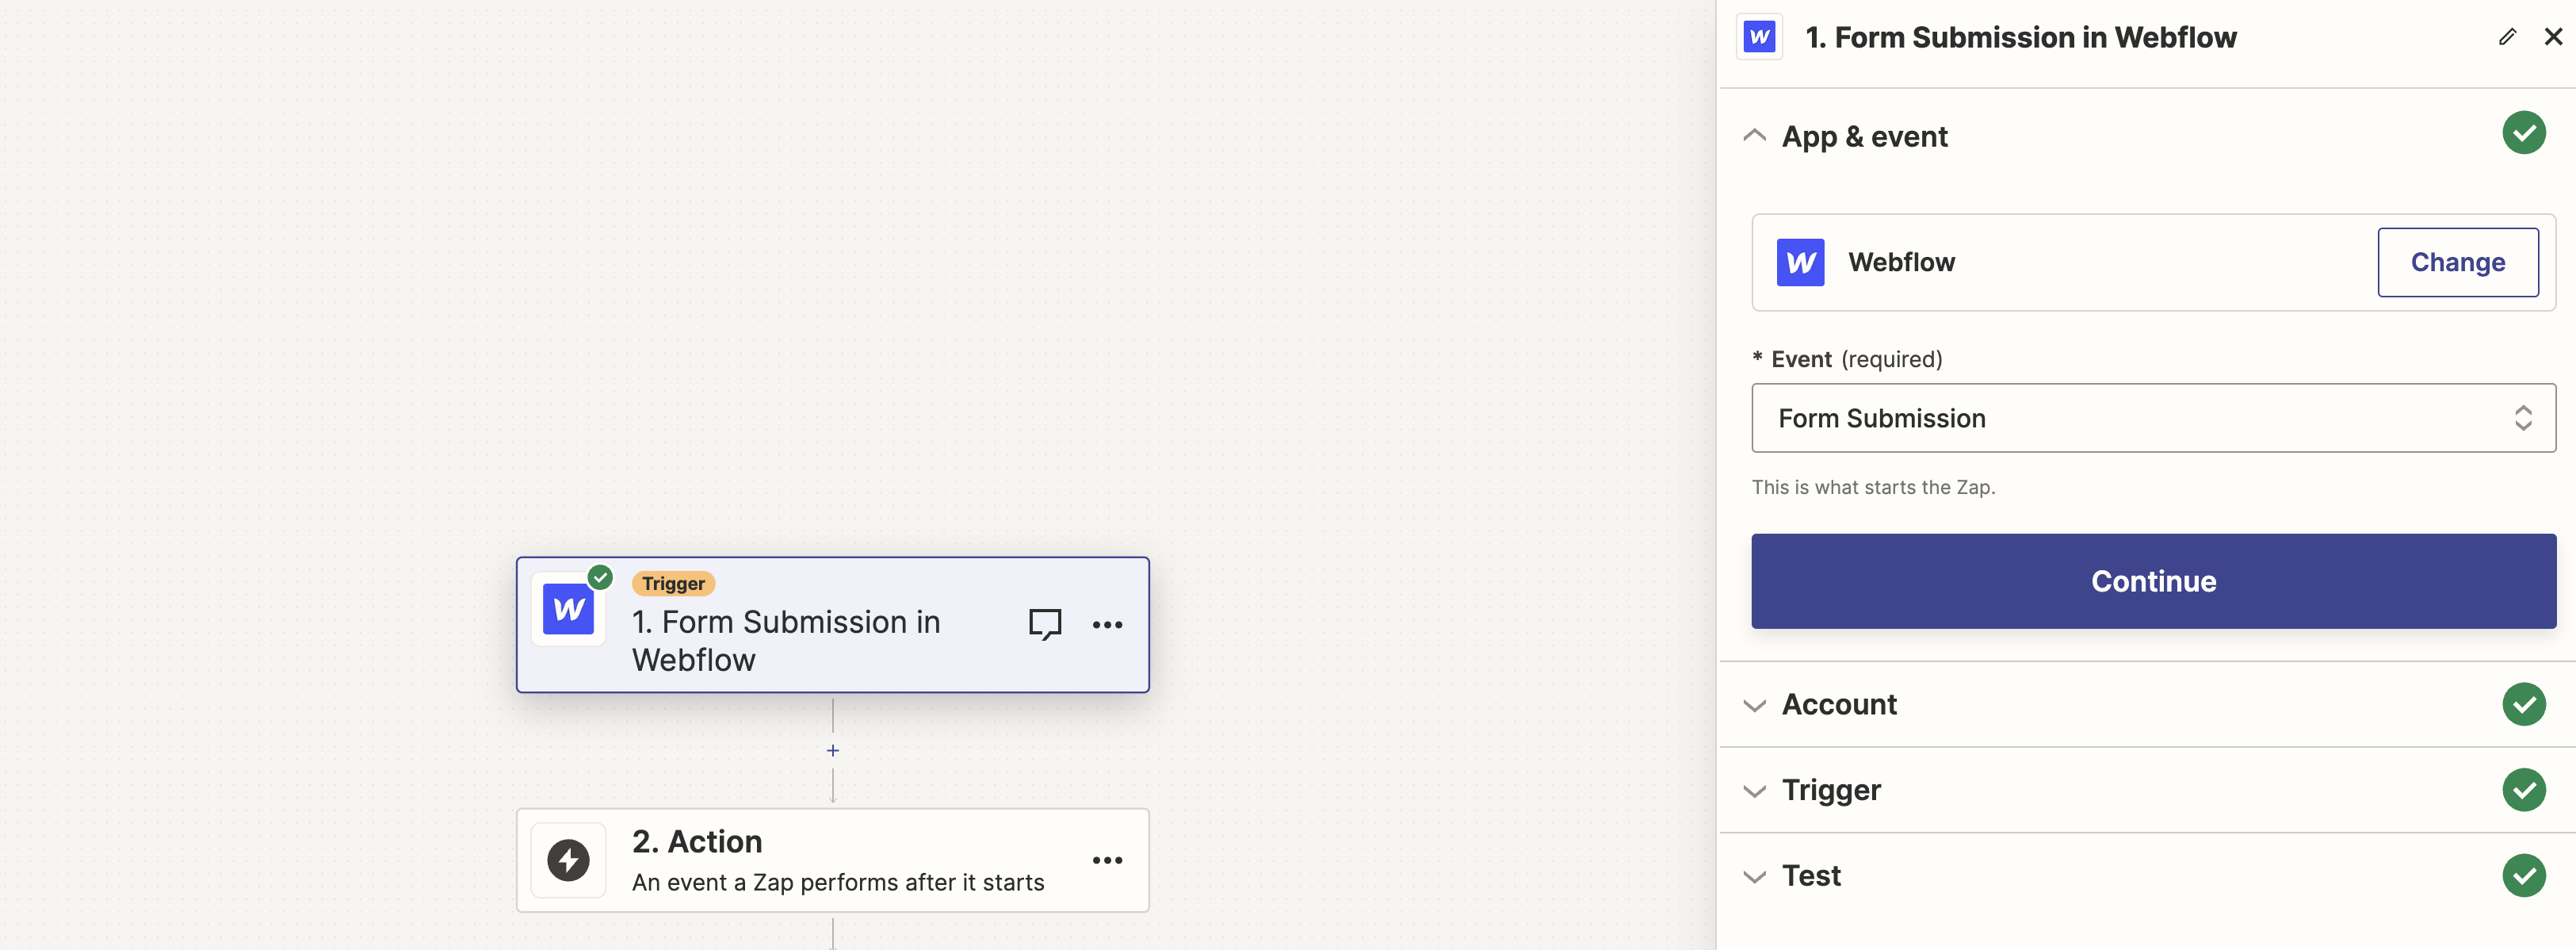
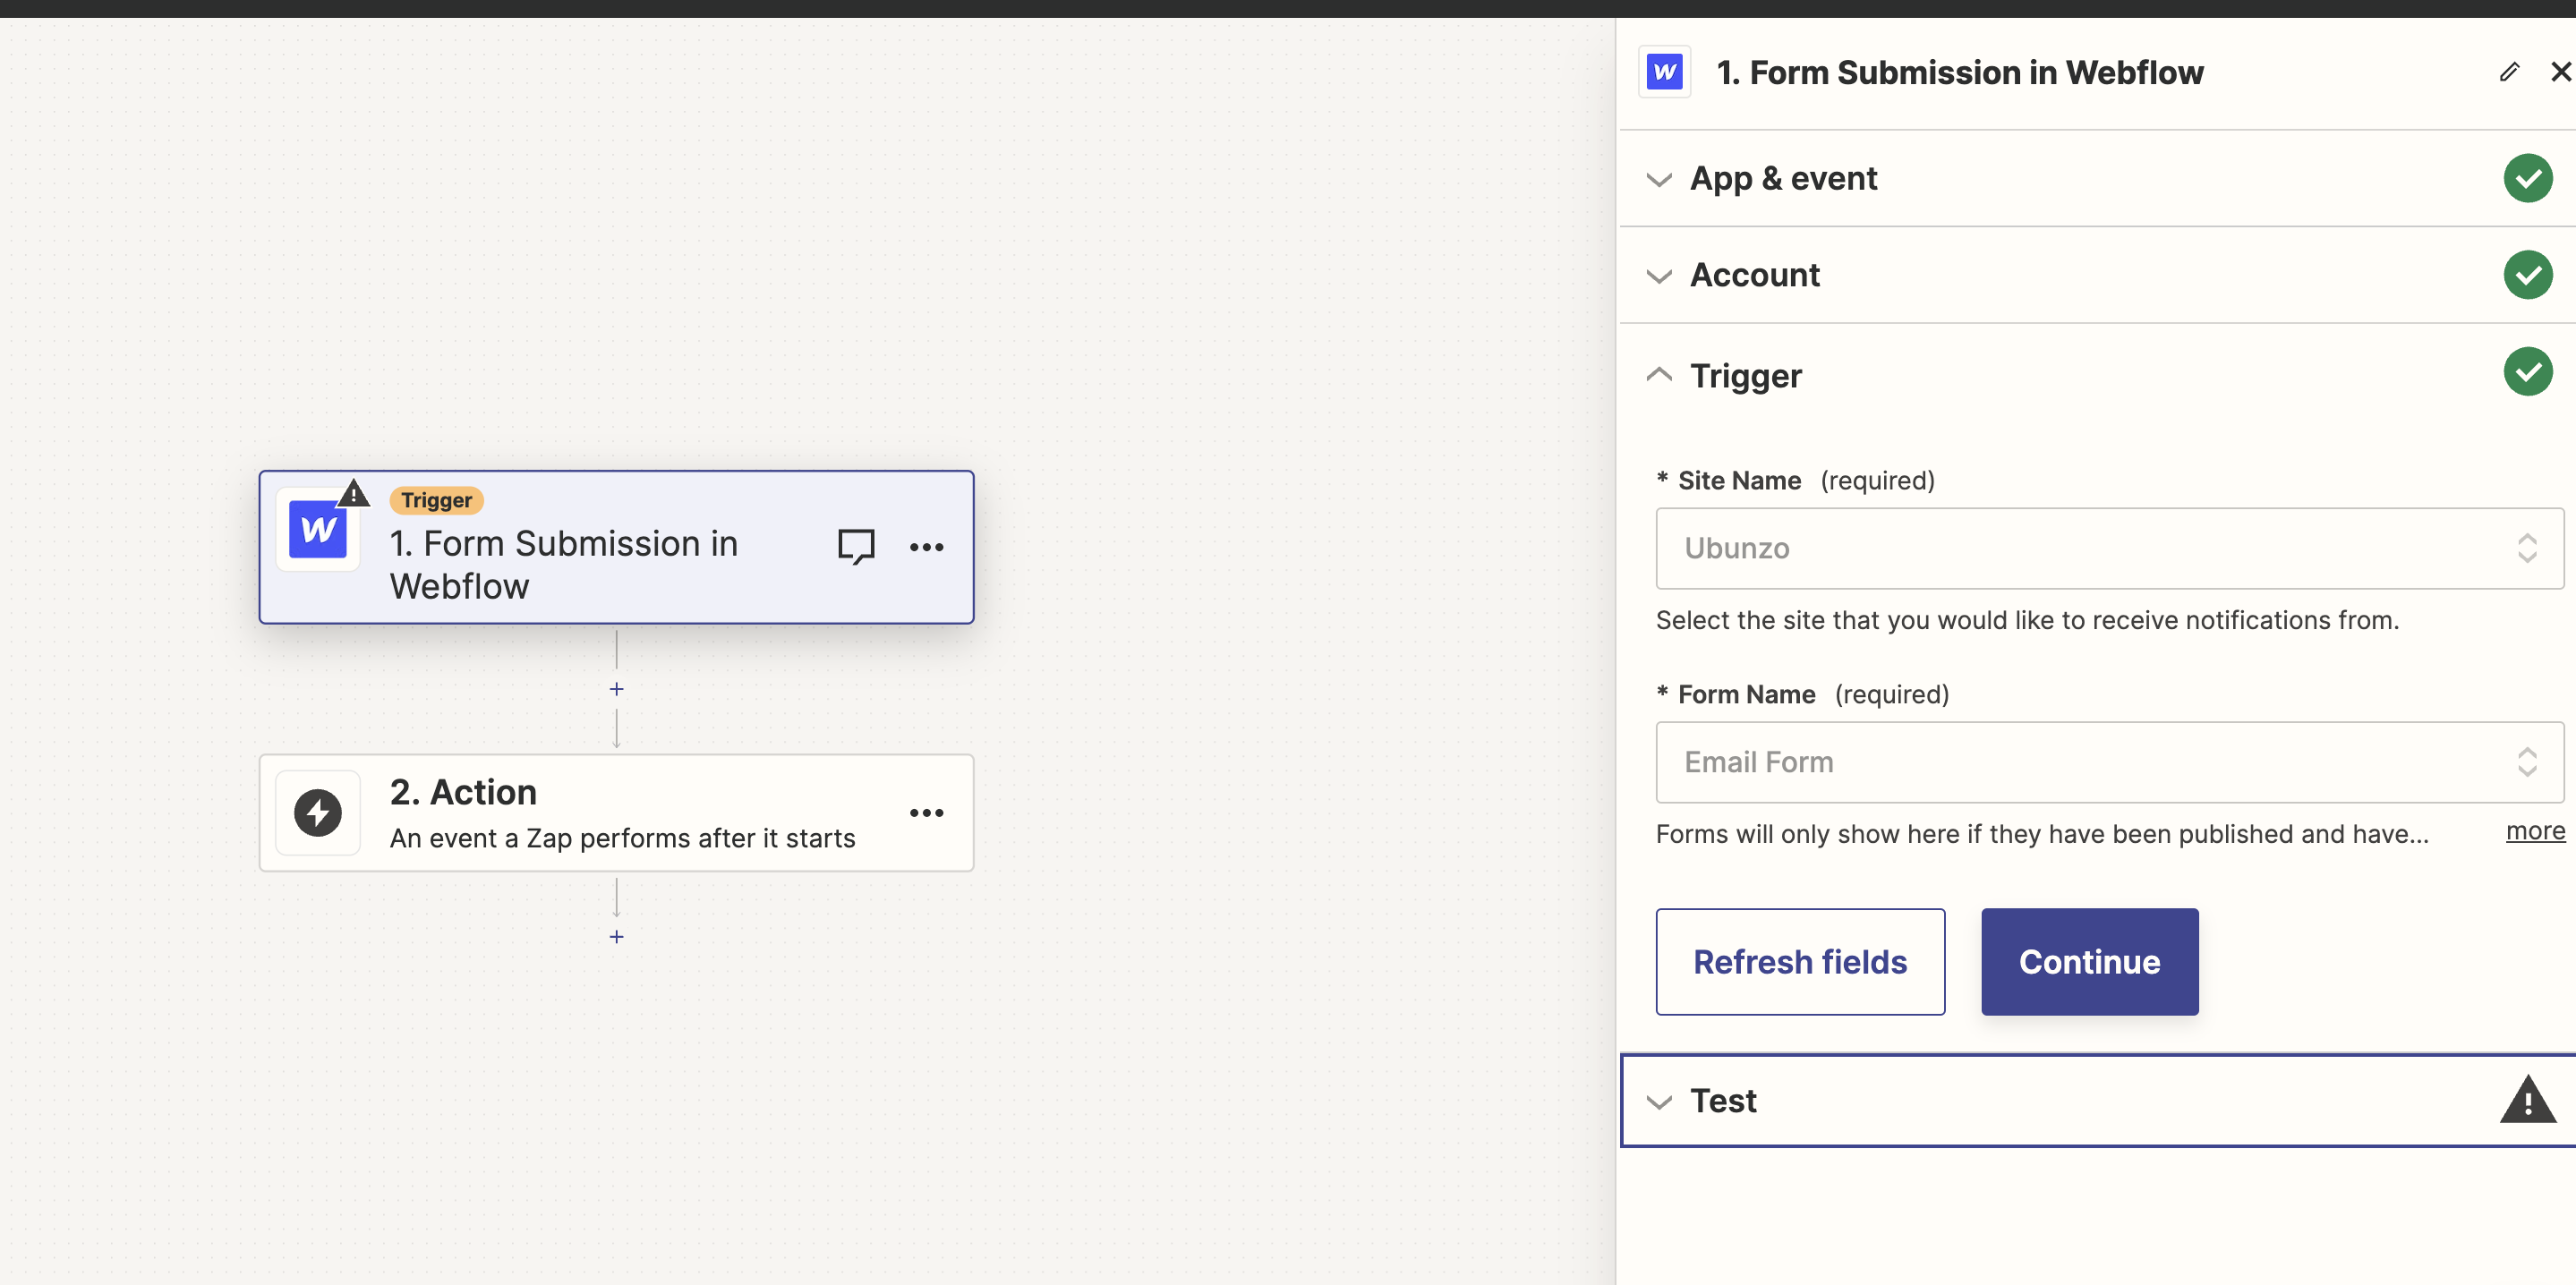
- Select Your Form: Pick the specific Webflow form you’re using for client requests.
Step 4: Linking to Notion
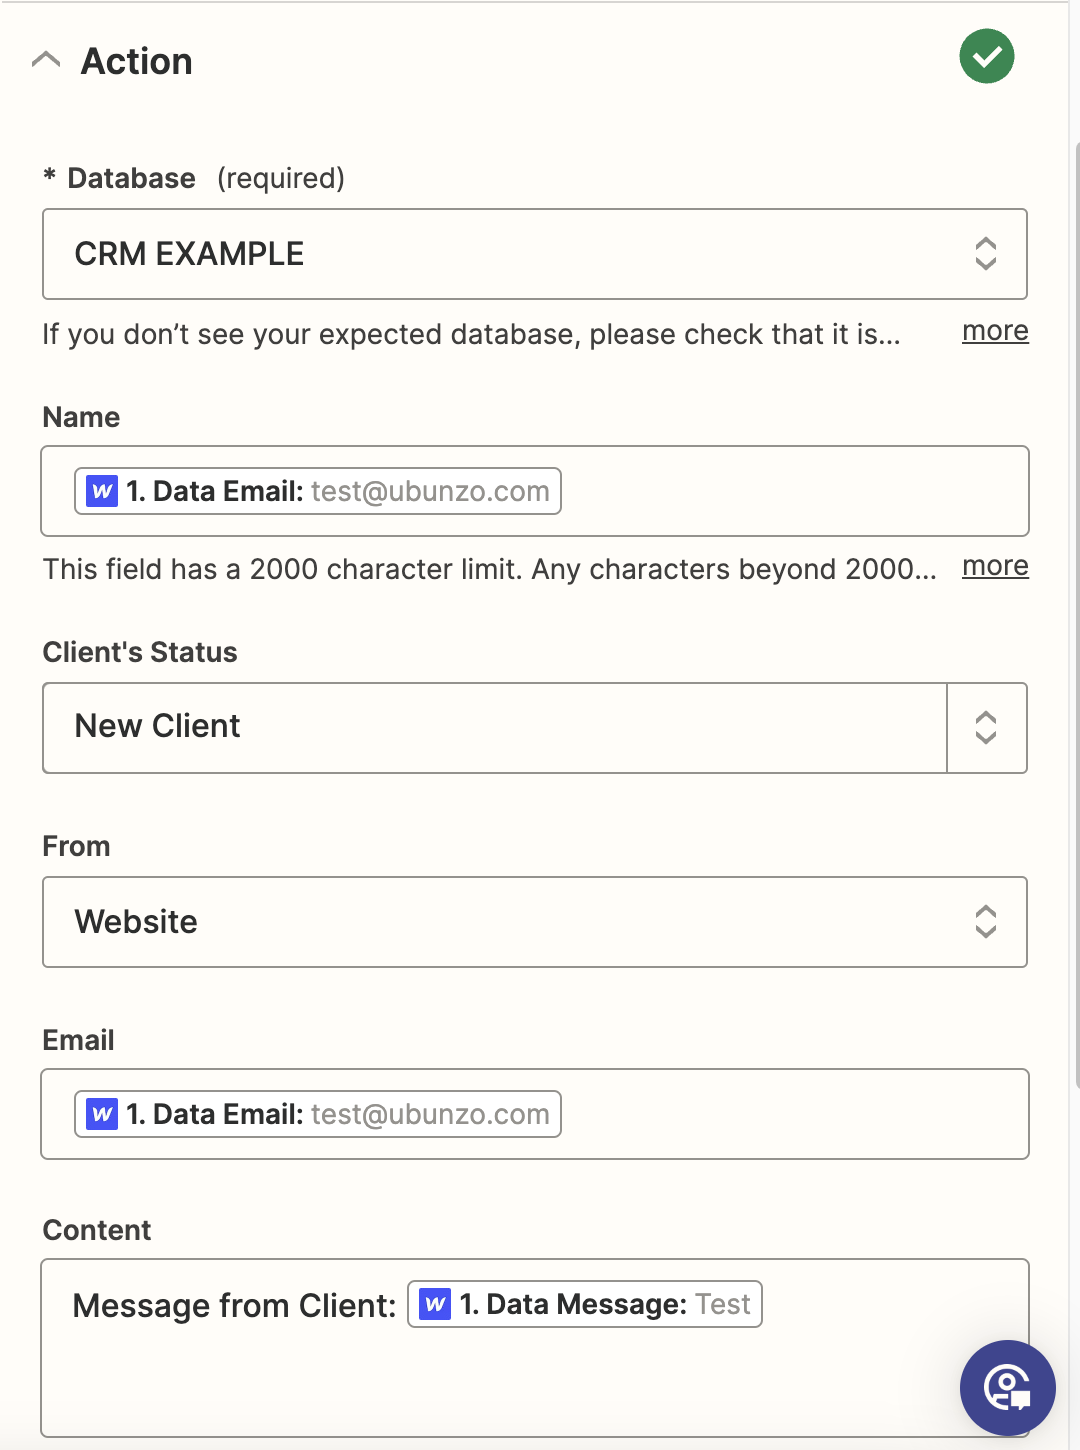
- Select Notion as the Action: In Zapier, set Notion as the action app where the data from Webflow will go.

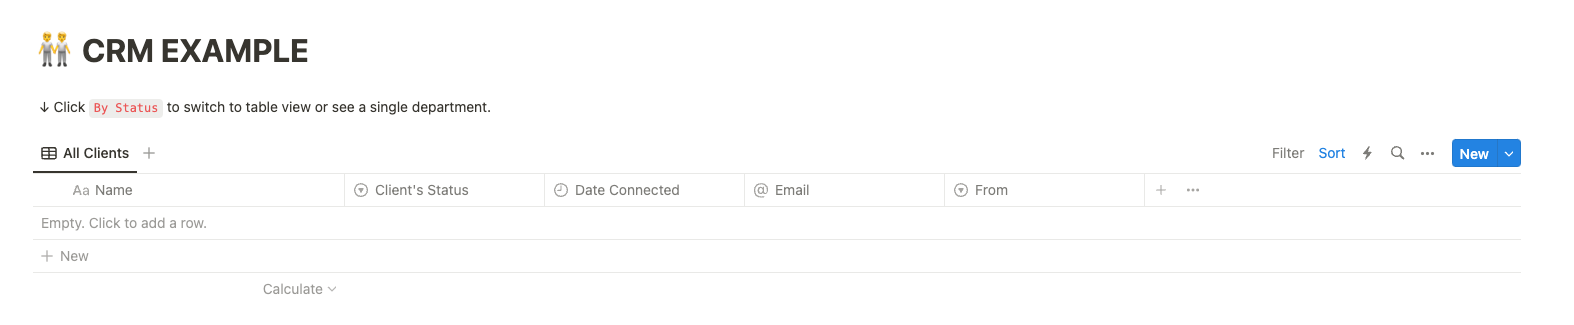
- Create a database in Notion as you see suit your needs. Make sure to create all the required data fields, that you want to see in your Notion once the Webflow form gets submitted.
- Map the Data Fields: Ensure each field in your Webflow form corresponds to the right field in your Notion database.
Step 5: Finalizing and Testing
- Test Your Integration: Before going live, test the Zap to ensure data flows correctly from Webflow to Notion.
- Activate the Zap: Once satisfied, activate it to start automating your CRM process.

Advantages of This Integration
- Cost-Effective: The basic versions of Webflow, Zapier, and Notion are free, making this a budget-friendly solution.
- Customization: Tailor your CRM in Notion to suit your specific business requirements.
- Efficiency: Automate data entry, saving time and reducing errors.
- Real-Time Updates: Client information is immediately and automatically updated in your CRM.
Conclusion
By linking your Webflow forms to a Notion database through Zapier, you create an efficient, customizable, and free CRM solution. This setup not only streamlines your workflow but also ensures you stay on top of client requests without additional software costs.