
A Simple Guide to Managing Reflections in Octane
Octane is known for its ability to remove light reflections from objects. However, a lesser-known feature is the ability to remove the reflection of one object from another. Many believe this to be impossible in Octane, but this is where OSL textures come into play.
Step-by-Step Process to Eliminate Reflections in Octane
Let's take an example where we want to stop the reflection of a grey cube on a metallic cube. Currently, both red and grey cubes are reflecting on the metallic surface. Let's change that.

Accessing the Right Material:
First, locate the Octane Material applied to the grey cube. Double-click on this material to open the Material Editor and then to the Node Editor.

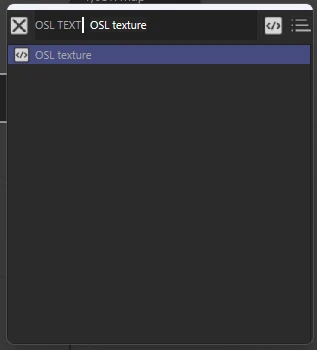
Finding the OSL Texture:
In the Node Editor, you can find the OSL Texture either by searching manually or using the shortcut Shift+C.
Setting Up the OSL Texture:
Once you select the OSL Texture, link it to the Opacity channel. Then, go to the Script Category in the OSL Texture and use the dropdown menu to select “utils”.


Choosing the Right Script Preset:
In the Script Preset dropdown menu, select "Raytype.osl"

Adjusting Parameters:
Below the generated code, you'll find parameters for the texture. Click the dropdown menu for Ray and choose Reflection.

Finalizing the Setup:
Put a checkmark on Swap, and you’re set.

Results: Reflection Is Gone
Now, you'll notice that the grey cube no longer reflects on the metal, while the red cube still does.

Bonus Tip: Stacking OSL Textures
A great feature of OSL textures is their stackability. If you want to remove not just the reflection but also the refraction from the grey cube, simply copy and paste the OSL Texture. Connect it to the A input of the previous texture and change the Ray parameter to Refraction.

Enhanced Control with Octane
This guide demonstrates how Octane's OSL textures offer refined control over reflections, allowing for more precise and realistic rendering in your 3D projects. Dive deeper into the design industry with further insights and expert advice on our Ubunzo blog. Continue to innovate and wishing you the best in all your creative pursuits!