In the ever-evolving landscape of web design and digital communication, the automation of responses to form submissions on Webflow using Zapier stands as a pivotal tool for enhancing user engagement and operational efficiency. This article serves as a comprehensive guide to help you seamlessly integrate Zapier with Webflow for automated email responses.
Understanding the Importance of Automated Form Responses
Responding promptly to form submissions on Webflow is crucial for maintaining a positive user experience and fostering timely communication. Automation through Zapier streamlines this process.
Zapier: Your Bridge Between Webflow and Efficient Communication
Zapier excels in connecting different web applications to automate tasks, and its integration with Webflow is no exception. By utilizing Zapier, you can set up automated email responses to every form submission received on your Webflow site, ensuring that your visitors always receive immediate feedback.
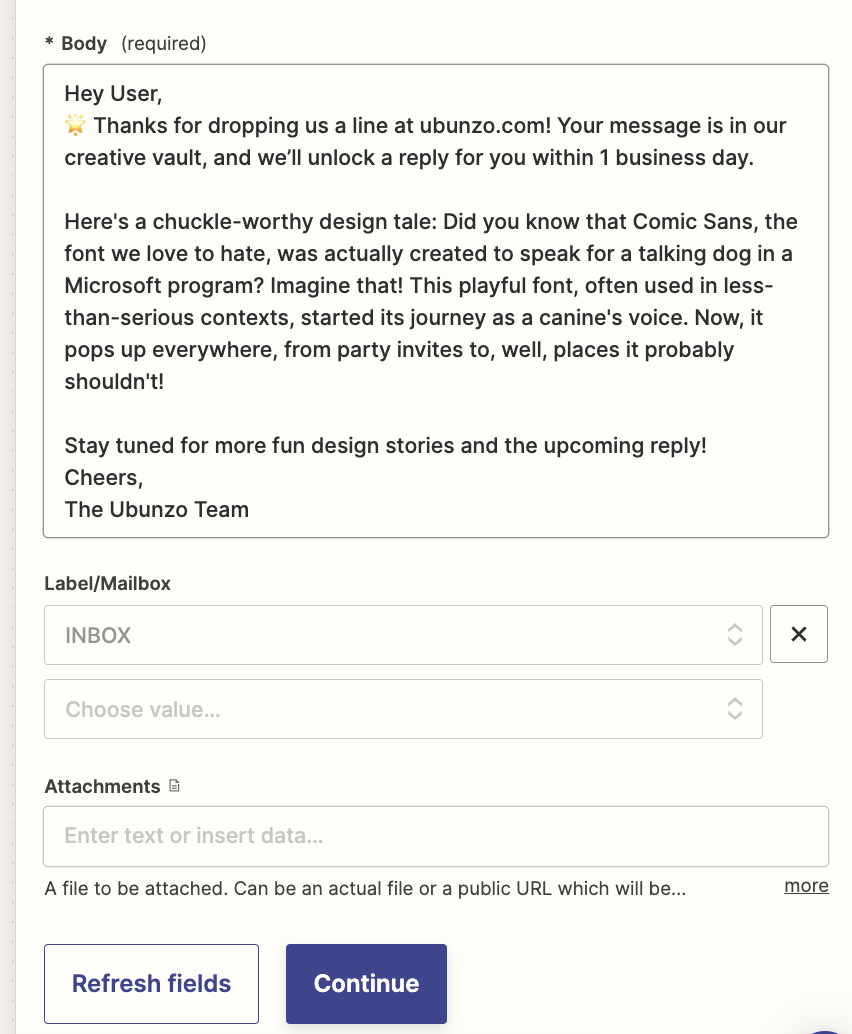
Crafting Your Automated Response System
- Create a Webflow Trigger: Start by integrating your Webflow account with Zapier.
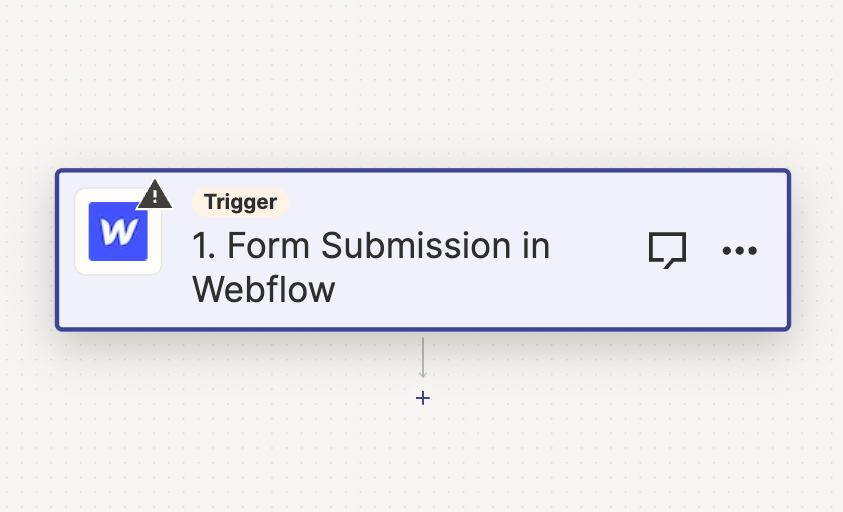
- Define the Event: The event is a Form Submission in your Webflow site.
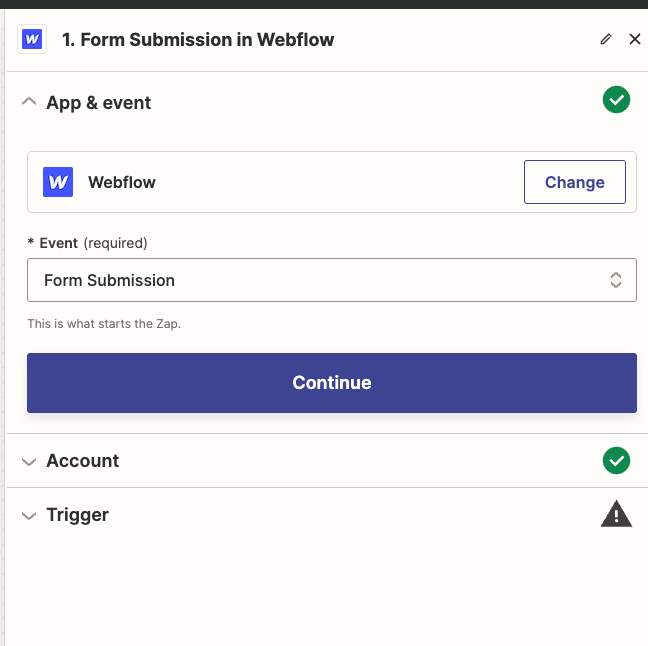
- Define the Trigger: In this case, the trigger is your website’s Email Form(could be named differently in your case).

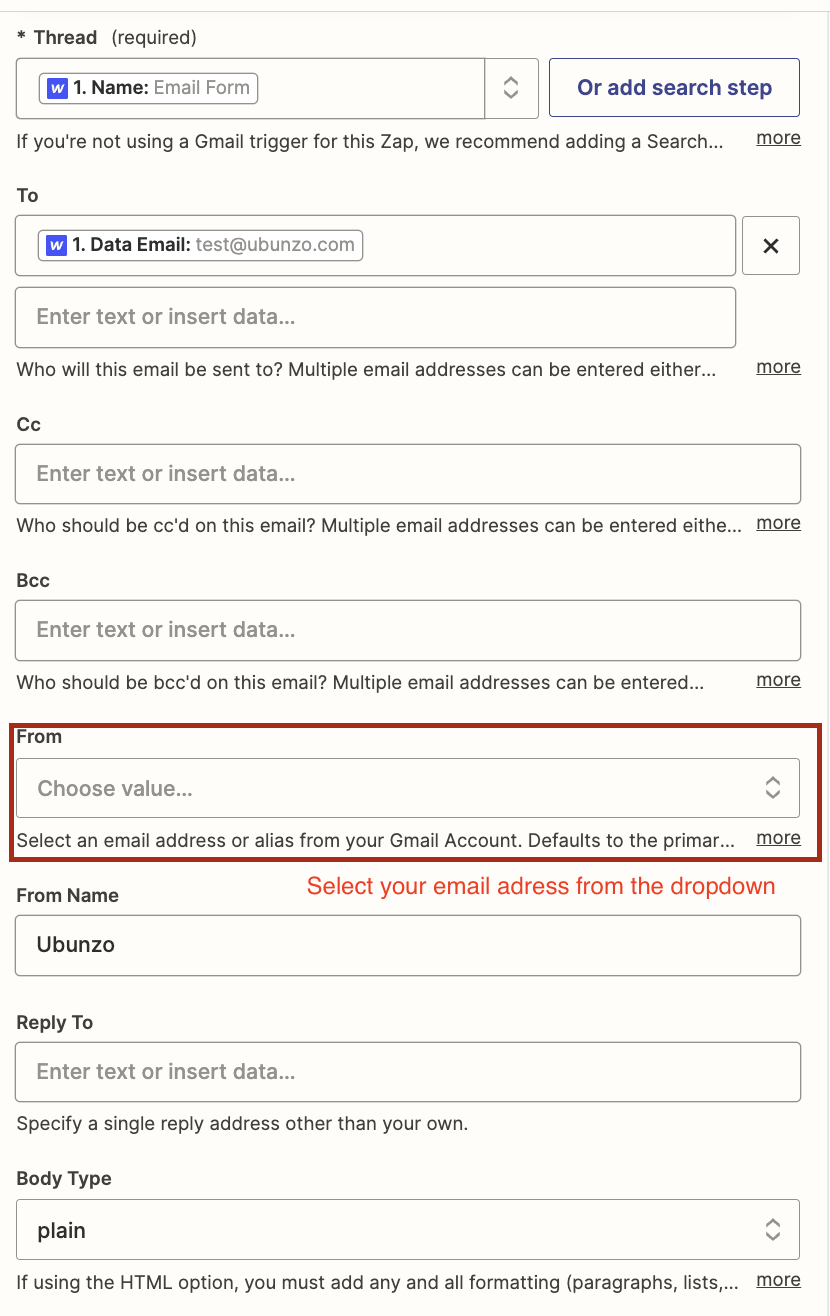
- Create an Email Action: In our case we use Gmail app.
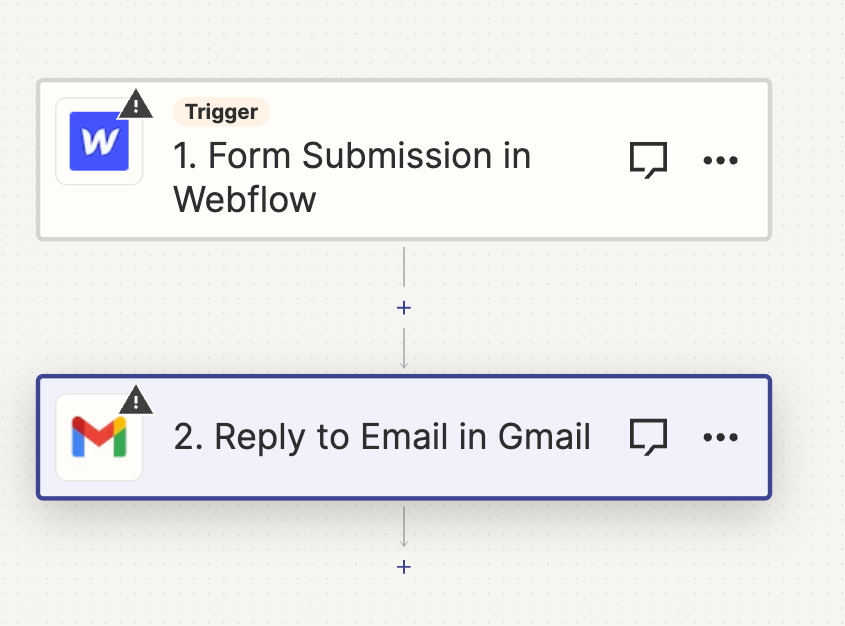
- Define the Event for Action: The event would “Reply to email”

- Set Up the Email Response: Link up all the fields with appropriate data points from Webflow and create an email template within Zapier that will be sent as a response to the form submissions. Ensure that it’s courteous, informative, and reflective of your brand’s voice.
- Test and Activate Your Automation: Before fully implementing, test the automation to confirm everything functions as intended.

Key Principles for Effective Automated Form Responses
- Promptness and Precision: Ensure your automated messages are sent promptly and contain accurate information.
- Brand Consistency: Align the tone and style of your responses with your brand identity.
- Ongoing Optimization: Continuously review and refine your automated responses to maintain their effectiveness and relevance.
Boosting Engagement and Efficiency with Automation
By implementing automated responses to Webflow form submissions via Zapier, you elevate your digital presence. This automation not only enhances the user experience by providing immediate feedback but also streamlines your workflow, allowing you to focus on other critical aspects of your business.
Final Thoughts
Using Zapier with Webflow to automatically respond to forms is a really smart move. This guide has shown you how to make it work. It's all about making things easier and faster both for you and the people visiting your website. By setting up this system, every time someone fills out a form on your site, they get a quick reply. This is great for keeping them happy and engaged.
What's really cool about this setup is that you can make the automated messages sound just like your brand. Plus, you can keep checking and tweaking them to make sure they're just right. This way, your website not only looks good but also works efficiently, giving you more time to focus on other important parts of your business.
So, by following these steps and using Zapier with Webflow, you're making your website a lot more user-friendly and efficient. It's a great way to step up your game in the digital world.
What is the main benefit of integrating Zapier with Webflow for form responses?
The primary benefit is the automation of email responses to form submissions, ensuring prompt and consistent communication with users, enhancing their experience, and improving workflow efficiency.
How do I start integrating Webflow with Zapier?
Begin by creating a Webflow Trigger in your Zapier account, linking it with your Webflow site's form submission event.
Is it necessary to have technical skills to set up this integration?
The basic understanding is sufficient, as the process involves user-friendly steps of defining triggers and actions within Zapier’s interface, but familiarity with Webflow and Zapier is beneficial.
How can I ensure the effectiveness of my automated response system?
Regularly test and review your automated responses for functionality, accuracy, and brand alignment. Continuous optimization based on user feedback and performance analytics is key.
Does this automation work with all types of Webflow forms?
Yes, the automation can be set up for any form created in Webflow, as long as it is properly linked and configured within Zapier.